Pick the Task and Plan the Pipeline
Map each product question to one of the seven Ultralytics YOLO tasks, with its weights, result field, label format, and gating metric, and prove the plan by running every task on one image.
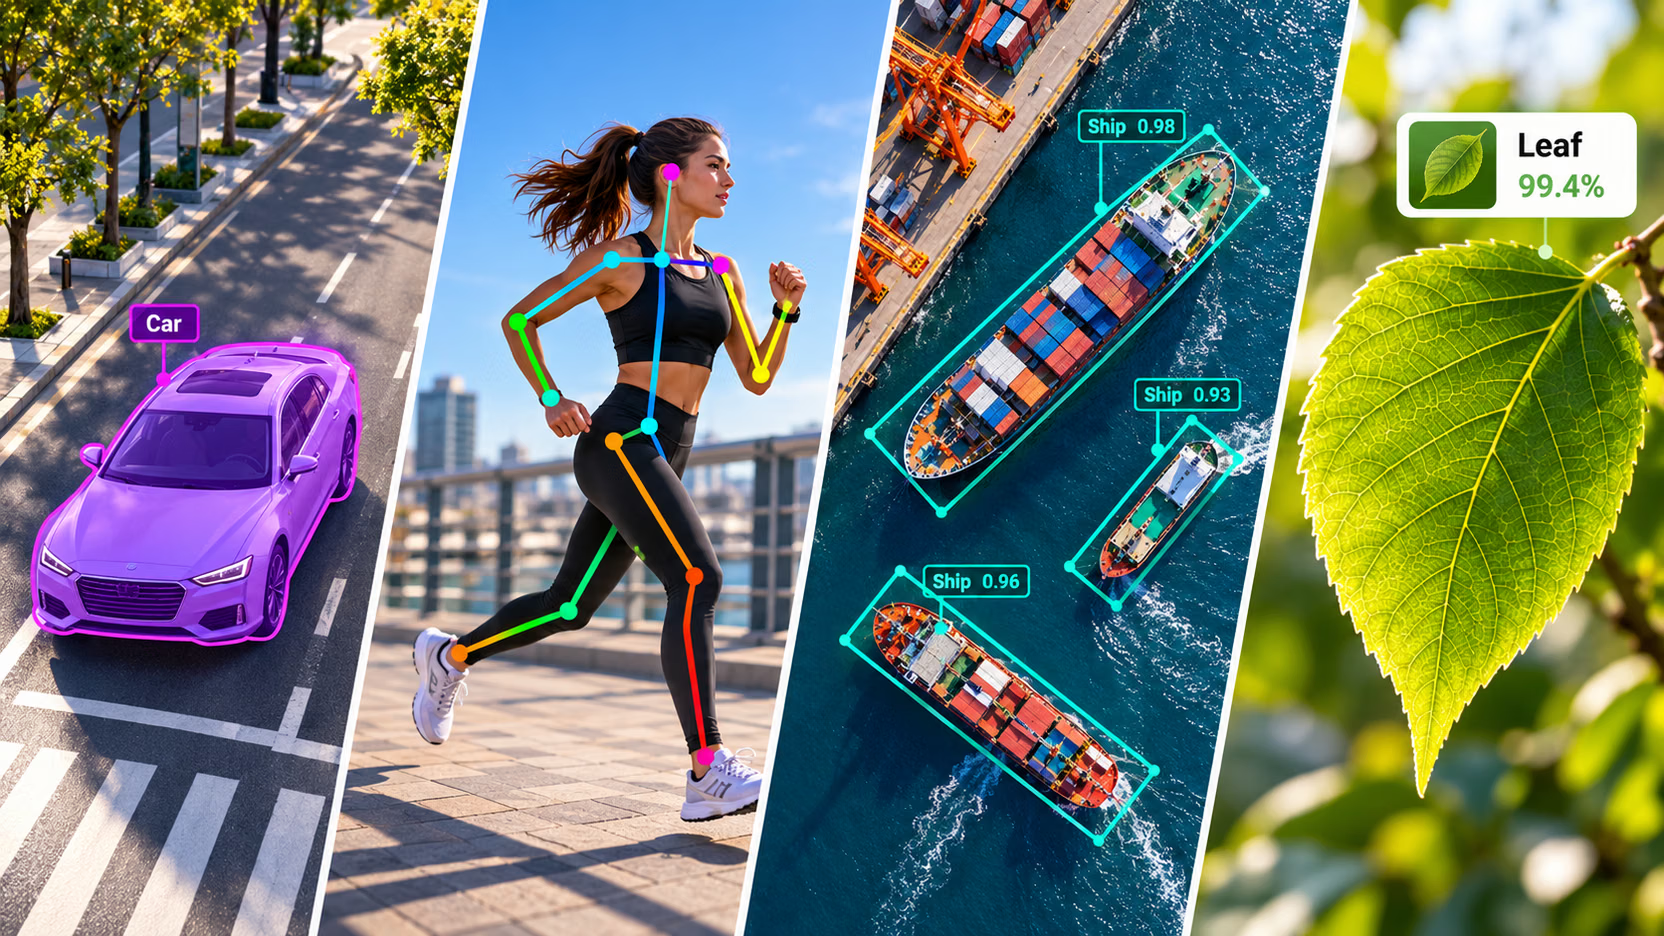
Once a detector ships, the next requests are rarely "more boxes". They are "how big is the spill", "is the worker's back bent", "which way is the ship pointing", and "is this part scrap". On the street photo used throughout this course, the bus's bounding box claims 48% of the frame while the bus itself covers 29%, so a box-based area answer would be wrong by more than half. The task you pick decides the label format, so choosing it before anyone labels is the cheapest decision in the project; changing it later means relabeling.
Hands-on
One photo, four different answers#
Ask one question of one photo — how much of this frame is bus, and how far away is it? — and let four Ultralytics YOLO tasks answer it:
from ultralytics import YOLO

image = "https://ultralytics.com/images/bus.jpg"
det = YOLO("yolo26n.pt")(image, verbose=False)[0]
seg = YOLO("yolo26n-seg.pt")(image, retina_masks=True, verbose=False)[0]
sem = YOLO("yolo26n-sem.pt")(image, verbose=False)[0]
depth = YOLO("yolo26n-depth.pt")(image, verbose=False)[0]
frame = det.orig_shape[0] * det.orig_shape[1]  # pixels in the photo

i = [det.names[int(c)] for c in det.boxes.cls].index("bus")
x1, y1, x2, y2 = det.boxes.xyxy[i].tolist()
print(f"detect    bus box covers   {(x2 - x1) * (y2 - y1) / frame:.1%} of the frame")

i = [seg.names[int(c)] for c in seg.boxes.cls].index("bus")
bus_mask = seg.masks.data[i].bool()  # H x W, True on bus pixels
print(f"segment   bus mask covers  {bus_mask.sum().item() / frame:.1%} of the frame")

ratios = {row["name"]: row["pixel_ratio"] for row in sem.summary()}
print(f"semantic  'train' pixels   {ratios['train']:.1%} of the frame")

meters = depth.depth.data[bus_mask].median().item()  # depth map and mask share the original size
print(f"depth     bus is about     {meters:.1f} m from the camera")
detect bus box covers 47.7% of the frame
segment bus mask covers 29.2% of the frame
semantic 'train' pixels 30.9% of the frame
depth bus is about 4.5 m from the cameraRead it line by line:
- detect answers where. The box also contains the road under the bus and the four people standing in front of it, so as an area it is 63% too large.
- segment answers what shape. 29.2% is the bus's real footprint in the image, the number to use for any area, coverage, or overlap rule.
- semantic answers which pixels belong to which class. The area is close to the mask's, but the model calls the bus
train: it labels surfaces with the classes of its training set (Cityscapes, lesson 4) and never separates one vehicle from another. - depth answers how far. The median depth inside the bus mask is 4.5 m — two tasks combined to answer a question neither answers alone.
If the number your product reports is an area, a coverage share, or an overlap, a box is the wrong instrument. Use a mask (segment) for objects or a class map (semantic) for surfaces.
The seven tasks at a glance#
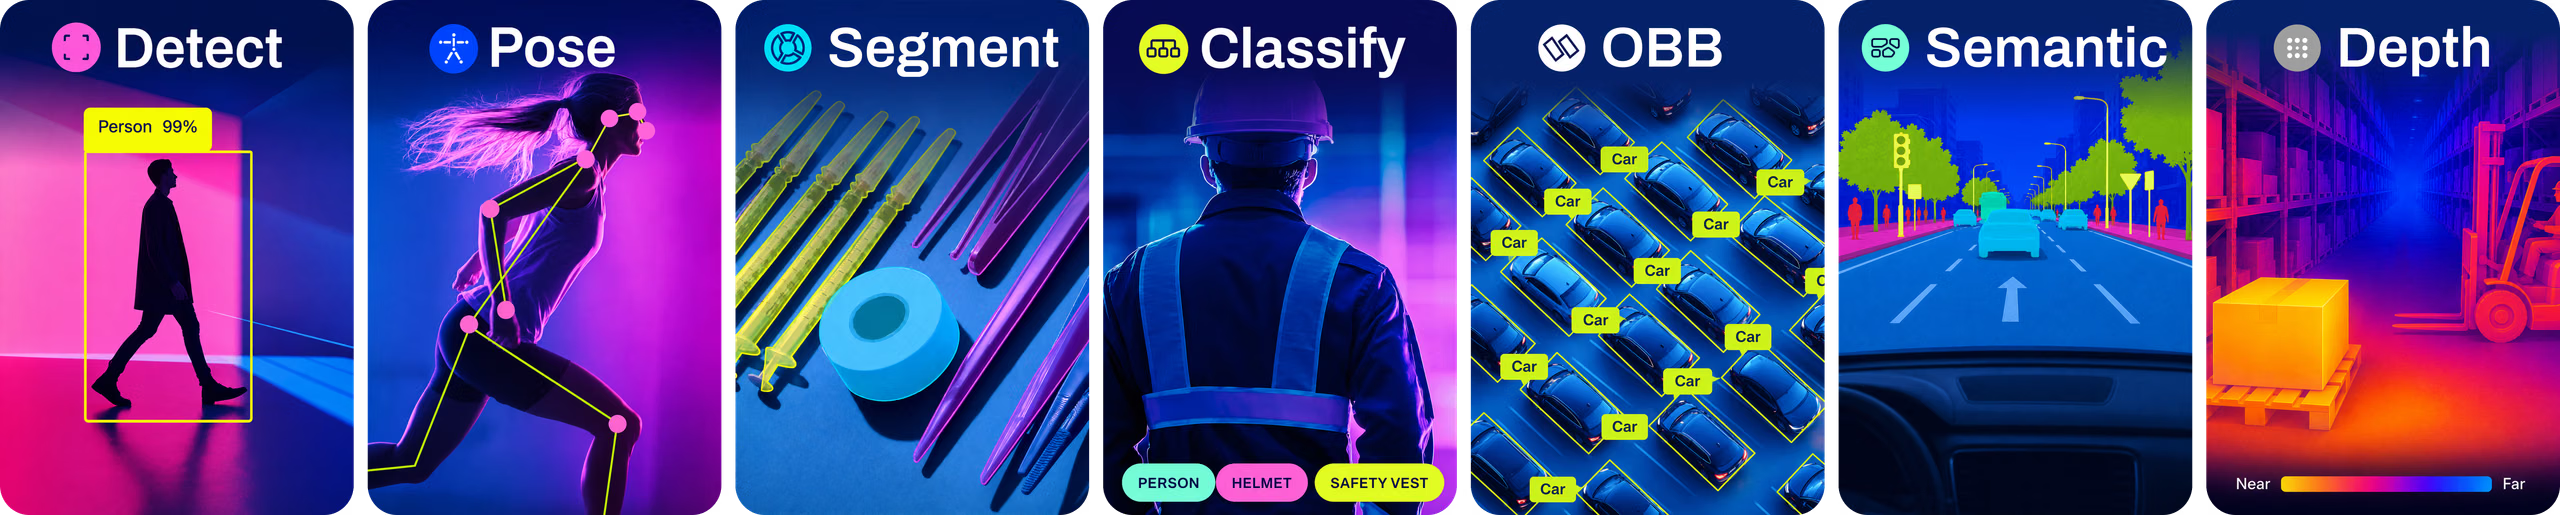
Computer Vision Foundations covers how to choose between tasks in detail — revisit The Seven Vision Tasks if the choice is not obvious. This is the working recap for the rest of the course. Every row is a task the installed ultralytics package trains, validates, predicts, and exports with the same API; the tasks overview is the full reference.
| Question the output answers | Task | YOLO26 weights | Result field | Label format | Gating metric |
|---|---|---|---|---|---|
| Where is each object? | detect | yolo26n.pt | boxes | class + box | box mAP50-95 |
| What exact shape and area is each object? | segment | yolo26n-seg.pt | masks + boxes | class + polygon | mask mAP50-95 |
| Which class does every pixel belong to? | semantic | yolo26n-sem.pt | semantic_mask | PNG class map or polygons | mIoU |
| Where are the joints or landmarks? | pose | yolo26n-pose.pt | keypoints + boxes | class + box + keypoints | pose mAP50-95 (OKS) |
| How is each object rotated? | obb | yolo26n-obb.pt | obb | class + 4 corners | OBB mAP50-95 |
| What is this whole image (or crop)? | classify | yolo26n-cls.pt | probs | one folder per class | top-1 accuracy |
| How far from the camera is every pixel? | depth | yolo26n-depth.pt | depth | depth map per image (16-bit PNG or NPY) | δ1 (delta1) |
You already ship the first row. Lessons 2 to 8 teach the five middle rows, and lessons 9 and 10 chain and ship them. The last row, monocular depth estimation, predicts a distance in meters for every pixel of a single image. Its labels come from depth sensors or 3D renderers rather than annotators, so it has its own dataset format; this course includes it wherever the workflow is shared: this plan, the validation loop, and the export check in the last lesson.
Choose one question at a time#
Walk the questions in order and stop at the first yes:
The chart covers the common cases. Four tie-breakers cover most of the rest:
| If the request… | Choose | Because |
|---|---|---|
| needs a count and an area ("how many spills, and how big") | segment | semantic merges touching objects into one region |
| involves long, thin objects packed side by side, seen from above | obb | axis-aligned boxes overlap and NMS drops true objects, even if you never read the angle |
| needs front versus back, or left versus right | pose | an OBB gives an axis, not a heading |
| sees exactly one item per image by construction (a fixed inspection station) | classify | the cheapest labels and the fastest model |
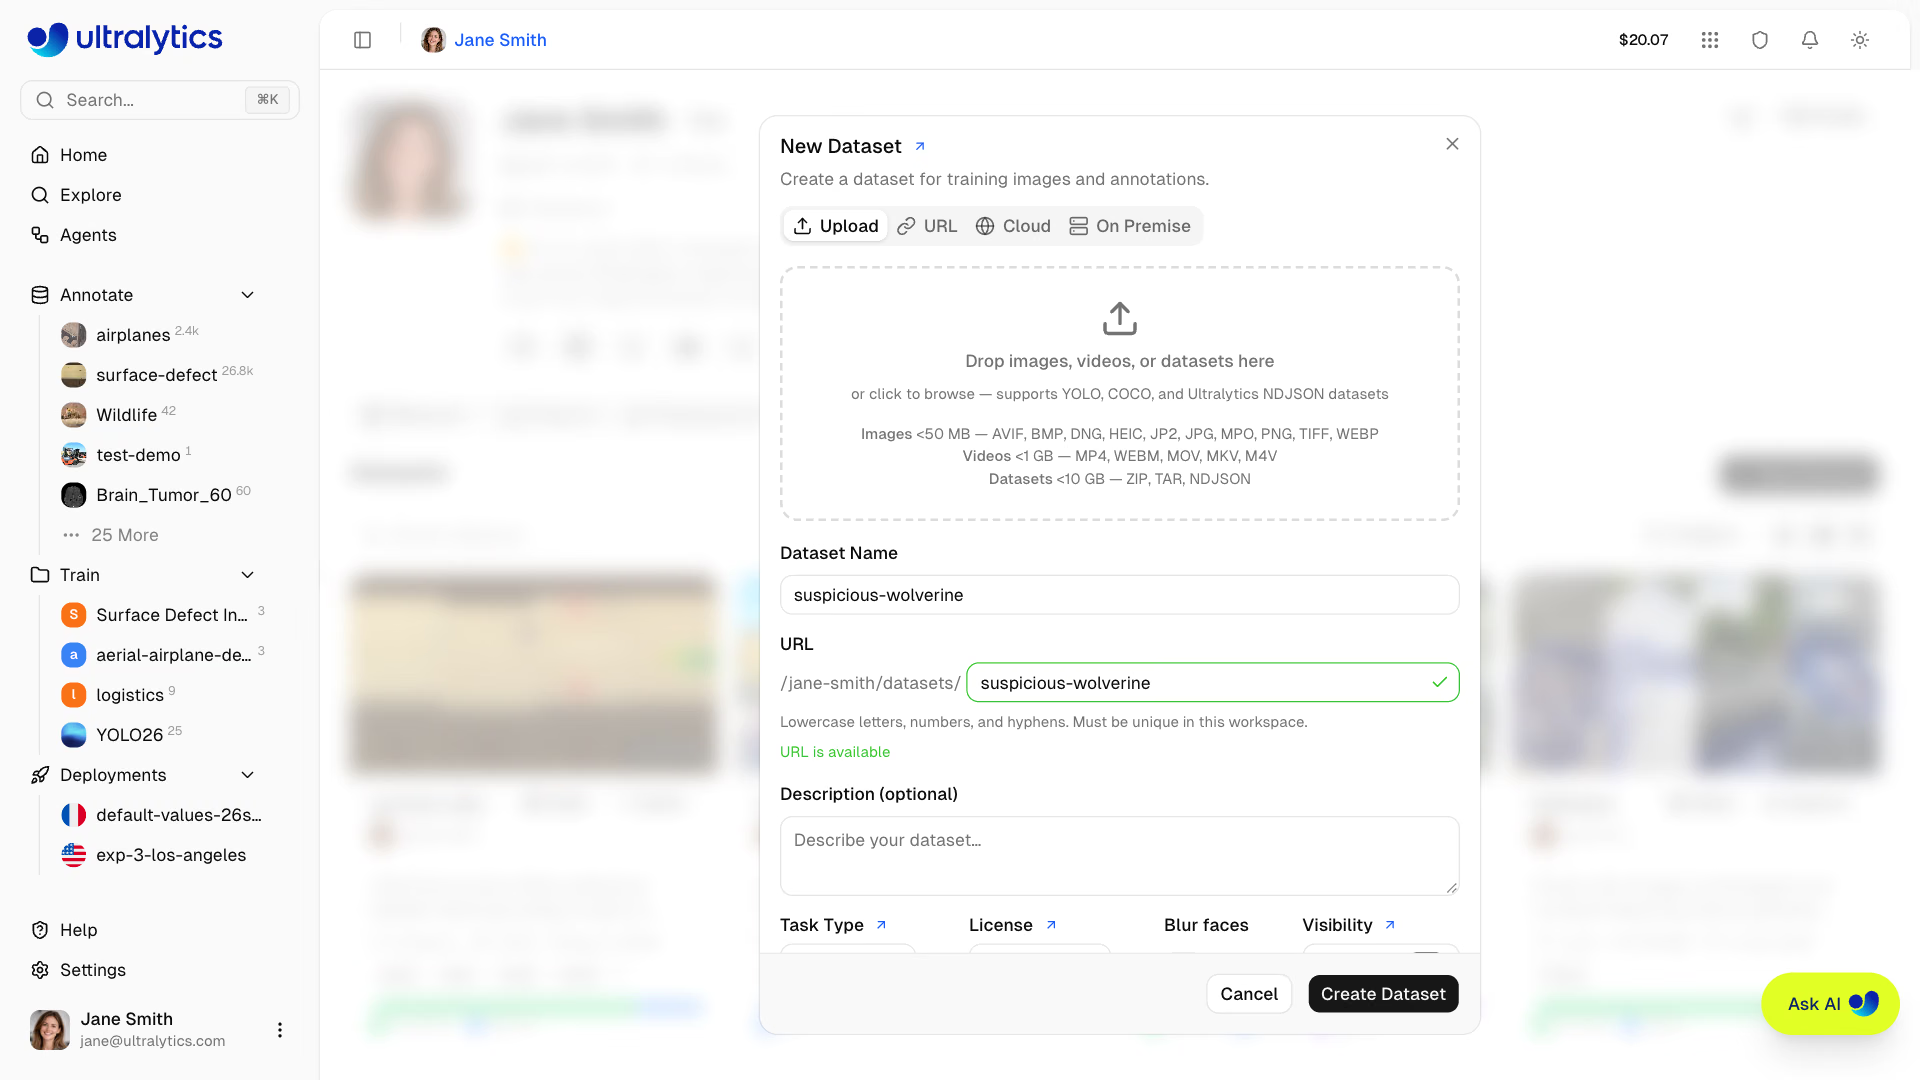
The task is fixed when you create the dataset — on Ultralytics Platform it is the Task Type field of the New Dataset dialog — so this choice comes before the first label:
One API, seven result fields#
Every task uses the same call; the model reads its task from the weights file. What changes is which field of the result comes back filled, and that field is what your code will read:
from ultralytics import YOLO

WEIGHTS = ["yolo26n.pt", "yolo26n-seg.pt", "yolo26n-sem.pt", "yolo26n-pose.pt", "yolo26n-obb.pt", "yolo26n-cls.pt", "yolo26n-depth.pt"]
FIELDS = ("boxes", "masks", "semantic_mask", "keypoints", "obb", "probs", "depth")

for weights in WEIGHTS:
    model = YOLO(weights)
    result = model("https://ultralytics.com/images/bus.jpg", verbose=False)[0]
    fields = [f for f in FIELDS if getattr(result, f) is not None]
    print(f"{weights:17s} task={model.task:9s} fields={fields}")
yolo26n.pt task=detect fields=['boxes']
yolo26n-seg.pt task=segment fields=['boxes', 'masks']
yolo26n-sem.pt task=semantic fields=['semantic_mask']
yolo26n-pose.pt task=pose fields=['boxes', 'keypoints']
yolo26n-obb.pt task=obb fields=['obb']
yolo26n-cls.pt task=classify fields=['probs']
yolo26n-depth.pt task=depth fields=['depth']Segment and pose results keep boxes, so detection code you already have keeps working on them. Classify, semantic, and depth results describe the whole image and have no per-object fields at all.
Detection code that loops over result.boxes stops with TypeError: 'NoneType' object is not iterable on an OBB model: result.boxes is None, and the rotated detections live only in result.obb. Port detection code to OBB by reading result.obb, not by guarding against None and getting zero detections.
When one model is not enough#
Most production systems that go beyond detection take one of three shapes:
- Detect, then classify. The detector finds small objects in a large frame; an image classifier makes a fine-grained call on each full-resolution crop: helmet type, defect grade, product SKU.
- Pose plus tracking. Keypoints describe one frame; a tracker turns them into a per-person time series you can count repetitions or detect falls from.
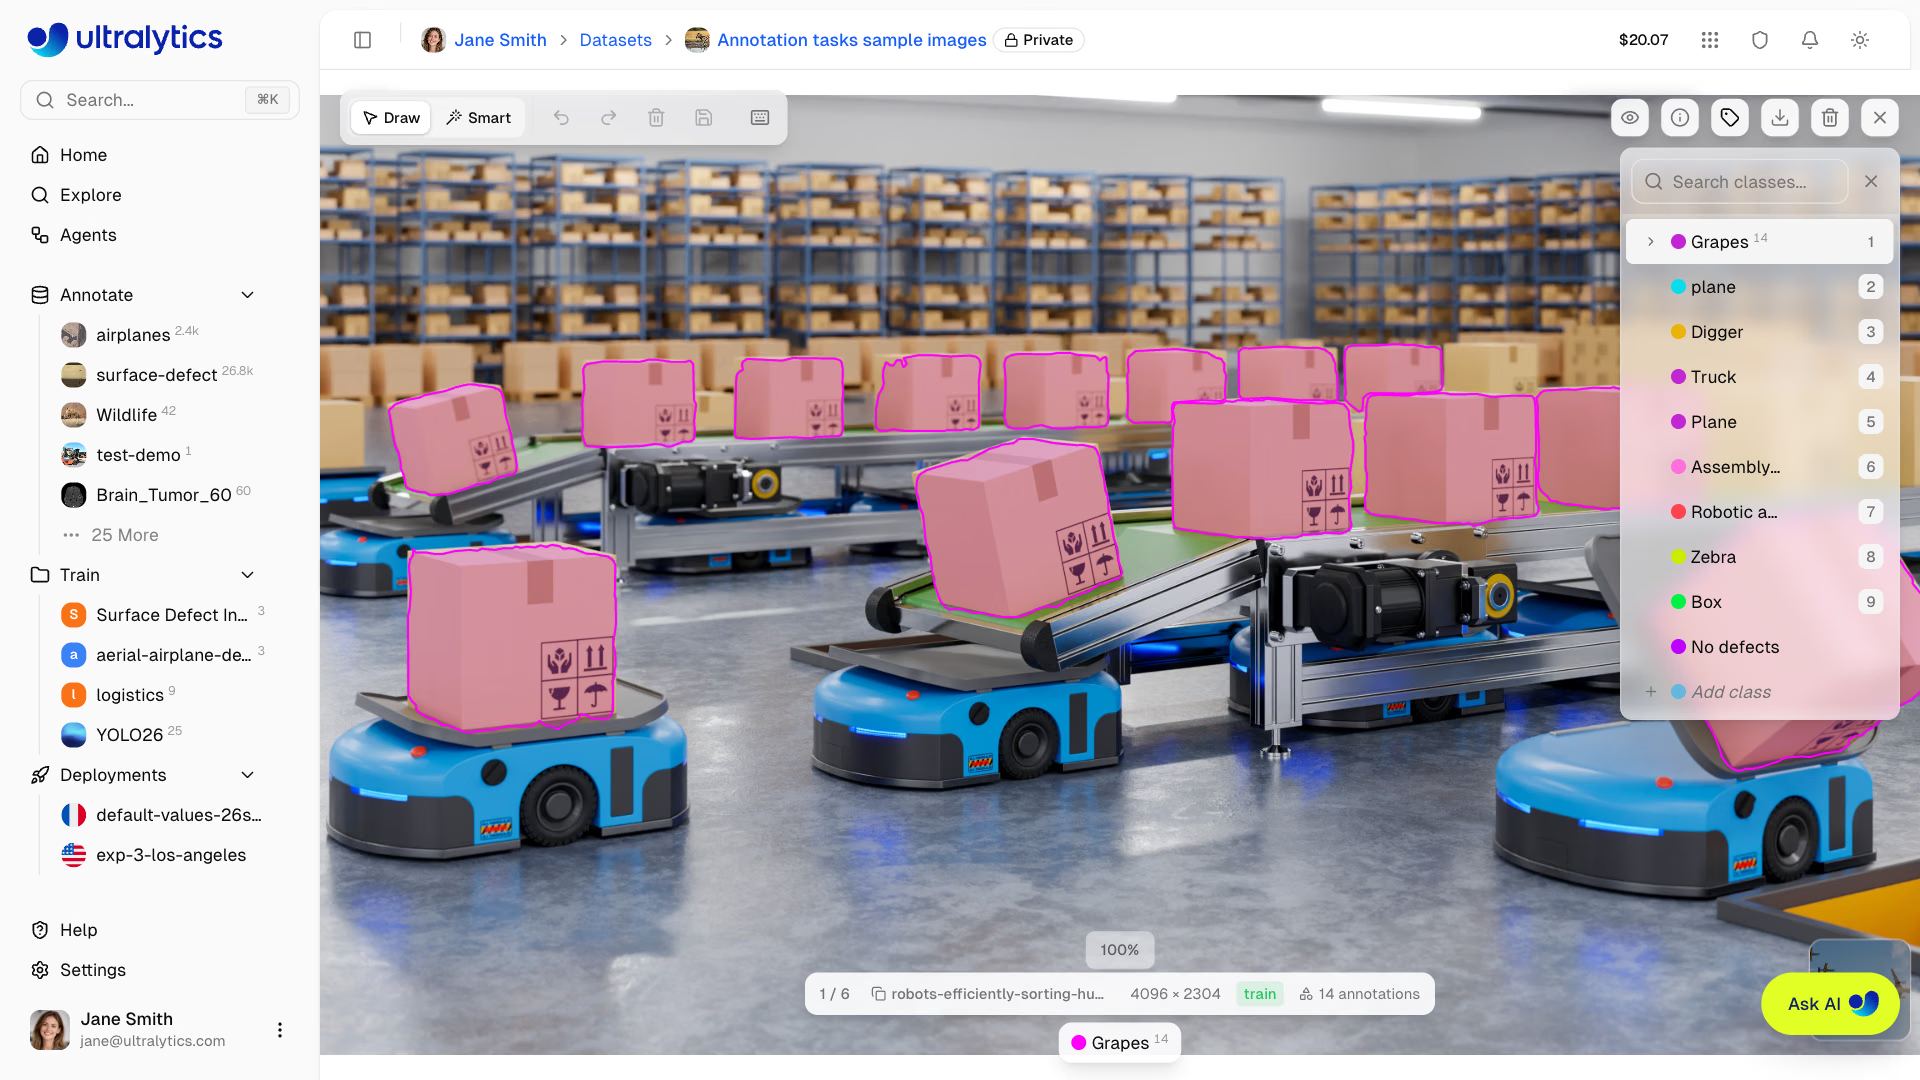
- Segment, then measure. The model returns pixels; plain code turns them into areas, widths, coverage ratios, or (with depth) distances.
The labels behind a segment-then-measure pipeline are one polygon per object, like these parcels on warehouse robots in the Ultralytics Platform editor:
A second model adds inference latency, a second dataset to label and maintain, and a second model to monitor. Chain only when one task cannot answer the question — a one-model plan you can ship beats a three-model plan you cannot label.
Pitfalls#
Symptom: the team labels polygons because masks demo well, then the product only ever reads a count. Fix: before labeling, name the line of code that consumes the output. If nothing reads the outline, ship a detector: boxes are faster to label and faster to run.
Symptom: after a month of labeling, someone notices the product needs a heading and the dataset has OBB labels, which only give an axis. Fix: write the exact attribute into the plan (result.masks.xy, result.keypoints.xy, result.obb.xywhr) and run tasks.py with your chosen weights before the first label.
Symptom: a classifier that scores 95% on clean product photos is wrong on most detector crops in production. Fix: build the second-stage dataset from the first stage's own crops, with their real blur and framing; lesson 9 shows how.
Show solution
For the pallet request:
| Row | Choice |
|---|---|
| Question | Does any part of a pallet extend past the rack beam line? |
| Task | segment — overhang depends on the pallet's outline; its box also covers the gap under the pallet and the load on top |
| Weights | yolo26n-seg.pt, fine-tuned on frames from the warehouse cameras |
| Label format | One polygon per pallet |
| Result field | result.masks.data with retina_masks=True (pixels past the beam line) |
| Gating metric | Mask mAP50-95 on a camera held out of training |
| Second stage | None — the beam line is fixed per camera, so it is configuration, not a model |
The overhang rule is then three lines of code: draw the beam line once per camera, count mask pixels on the wrong side of it, and alert above a pixel threshold you calibrate on a few known overhangs. Lesson 3 shows exactly this kind of mask-versus-region test.