Label and Train Instance Segmentation
Write polygon labels, check them in code, train yolo26n-seg.pt on COCO8-seg, and diagnose a model from the gap between its box and mask metrics.
Instance segmentation gives every object its own outline, which is what you need when area, overlap, or a boundary drives the decision. Polygons are the most expensive labels most teams buy, and a malformed row does not crash training — it quietly trains on the wrong shape. This lesson gets the row format right, checks a label set in code, and trains a first model so you can see what the extra labeling buys: a second metric that scores outlines, not just positions.
Hands-on
The polygon label row#
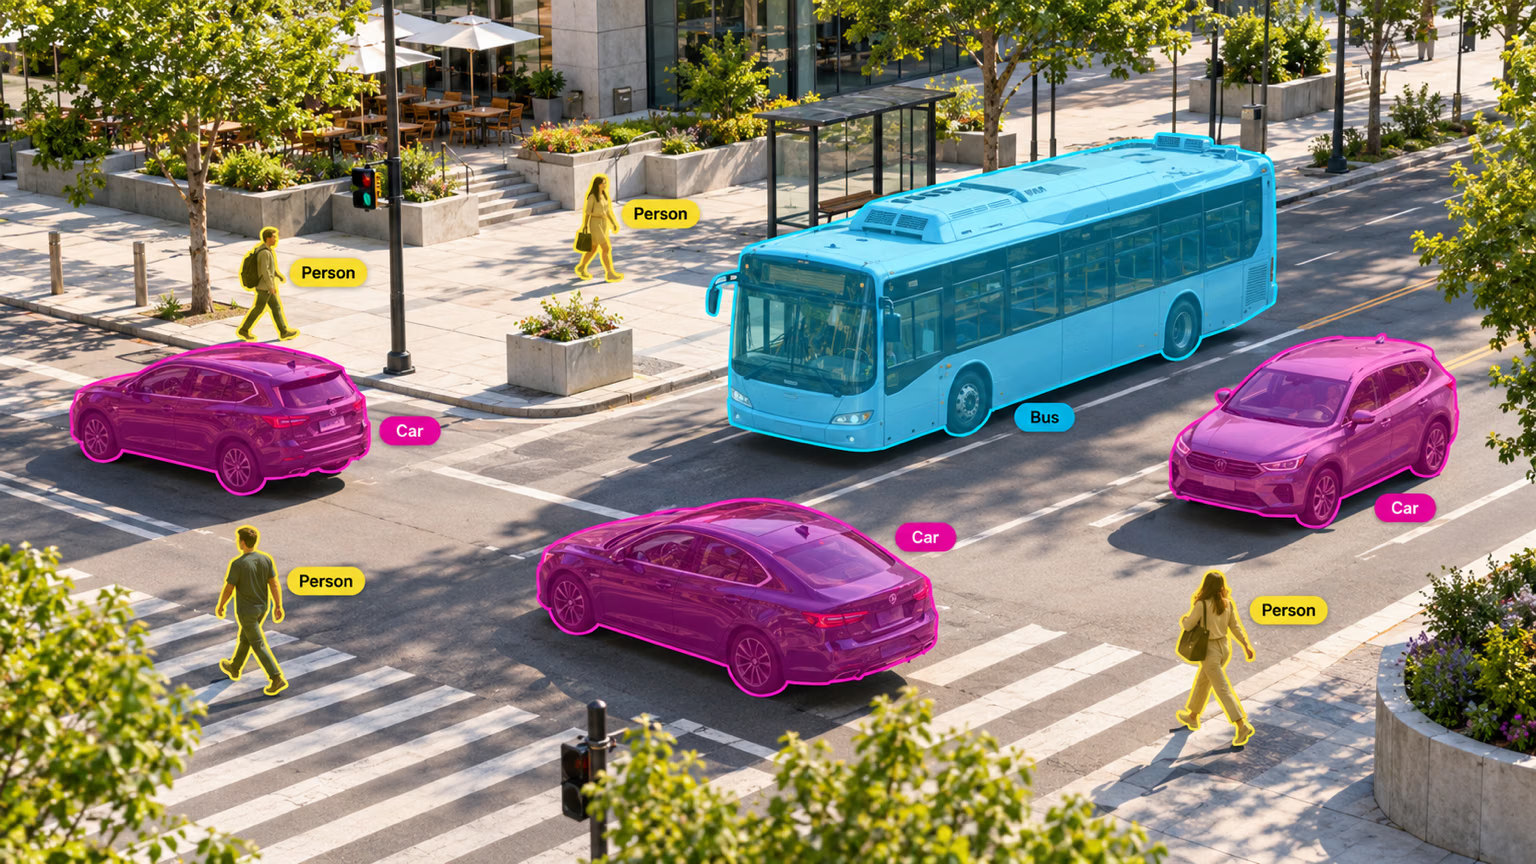
A segmentation label file has one row per object, like a detection label, but instead of a box it lists the object's outline as normalized vertex pairs. A real row from COCO8-seg, trimmed:
45 0.782016 0.986521 0.937078 0.874167 0.957297 0.782021 0.950562 0.739333 0.825844 0.561792 ...| Position | Detection row | Segmentation row |
|---|---|---|
| 1 | class index (45 is bowl) | class index |
| 2–5 | x_center y_center width height | the first two vertices, x1 y1 x2 y2 |
| 6+ | — | more vertices, as many as the outline needs |
| Units | normalized 0–1 | normalized 0–1 (pixel x ÷ image width, pixel y ÷ image height) |
Three rules carry most of the weight: at least three vertices per object, coordinates divided by the image size, and one row per instance even when two objects of the same class touch. The segmentation dataset guide has the full specification.
Polygons are a superset of box labels. The same label folder trains yolo26n.pt (Ultralytics derives each box from its polygon) and yolo26n-sem.pt (it rasterizes the polygons into class maps) — we trained both on coco8-seg.yaml. If the plan changes after labeling, the budget is not lost.
Check labels before you train#
A row with an odd number of values, a coordinate written in pixels, or an outline traced around the wrong thing will not stop training. This checker reads the dataset through Ultralytics' own loader, rejects malformed rows, and prints each polygon's area next to the box Ultralytics will derive from it:
from pathlib import Path

import numpy as np

from ultralytics.data.utils import check_det_dataset

data = check_det_dataset("coco8-seg.yaml")  # resolves paths, downloads if needed
for label in sorted(Path(data["path"], "labels", "train").glob("*.txt"))[:2]:
    for n, row in enumerate(label.read_text().splitlines(), 1):
        cls, *coords = row.split()
        if len(coords) % 2 or len(coords) < 6:
            print(f"{label.name}:{n} BAD: needs an even number of values and at least 3 vertices")
            continue
        xy = np.array(coords, dtype=float).reshape(-1, 2)
        if xy.min() < 0 or xy.max() > 1:
            print(f"{label.name}:{n} BAD: coordinates must be normalized to 0-1")
            continue
        x, y = xy[:, 0], xy[:, 1]
        area = 0.5 * abs(np.dot(x, np.roll(y, 1)) - np.dot(y, np.roll(x, 1)))  # shoelace formula
        w, h = xy.max(0) - xy.min(0)  # the box Ultralytics derives from the polygon
        name = data["names"][int(cls)]
        print(f"{label.stem} {name:9s} {len(xy):3d} vertices  polygon {area:.3f}  box {w * h:.3f}  fill {area / (w * h):.2f}")
000000000009 bowl 12 vertices polygon 0.391 box 0.569 fill 0.69
000000000009 bowl 14 vertices polygon 0.145 box 0.238 fill 0.61
000000000009 broccoli 50 vertices polygon 0.161 box 0.252 fill 0.64
000000000009 bowl 55 vertices polygon 0.079 box 0.531 fill 0.15
000000000009 orange 13 vertices polygon 0.007 box 0.011 fill 0.64
000000000009 orange 13 vertices polygon 0.005 box 0.009 fill 0.61
000000000009 orange 18 vertices polygon 0.012 box 0.019 fill 0.61
000000000009 orange 12 vertices polygon 0.010 box 0.022 fill 0.44
000000000025 giraffe 82 vertices polygon 0.072 box 0.234 fill 0.31
000000000025 giraffe 19 vertices polygon 0.010 box 0.027 fill 0.38Areas are fractions of the image, so the first bowl covers 39% of its photo. Fill is polygon area divided by box area, and it is the column to scan:
- Most compact objects (bowls, oranges, broccoli) land around 0.6–0.7.
- The giraffe's 0.31 is genuine: long legs and neck leave most of its box empty — the reason this object needs a mask at all.
- The third bowl's 0.15 is the row a reviewer should open. Only a thin rim of that bowl is visible around its food, so its outline is a narrow band inside a large box. That is correct here; on your data, a fill that low is just as often an outline traced around the wrong object.
Fix every BAD row before training. Then sort by fill and open the lowest few percent of rows per class in an annotation tool: a low fill is either a thin or occluded object (keep) or a bad trace (fix).
Get polygons without tracing every edge#
Hand-tracing outlines is the expensive part of data labeling. Check which shortcut applies before anyone starts:
| You already have | Tool |
|---|---|
| COCO JSON with segmentation | convert_coco(labels_dir, use_segments=True) from ultralytics.data.converter |
| PNG masks (pixel value = class index + 1, 0 = background) | convert_segment_masks_to_yolo_seg(masks_dir, output_dir, classes) — touching objects of one class come out as one polygon, so split them in review |
| Box labels only | yolo_bbox2segment(im_dir) — prompts SAM with each box to generate a polygon |
| Nothing yet | Smart Annotation and Batch Labeling — click once, review the polygon |
On Ultralytics Platform, Smart mode runs SAM: a positive click on the object and a negative click on what it should exclude produce a mask you then review.
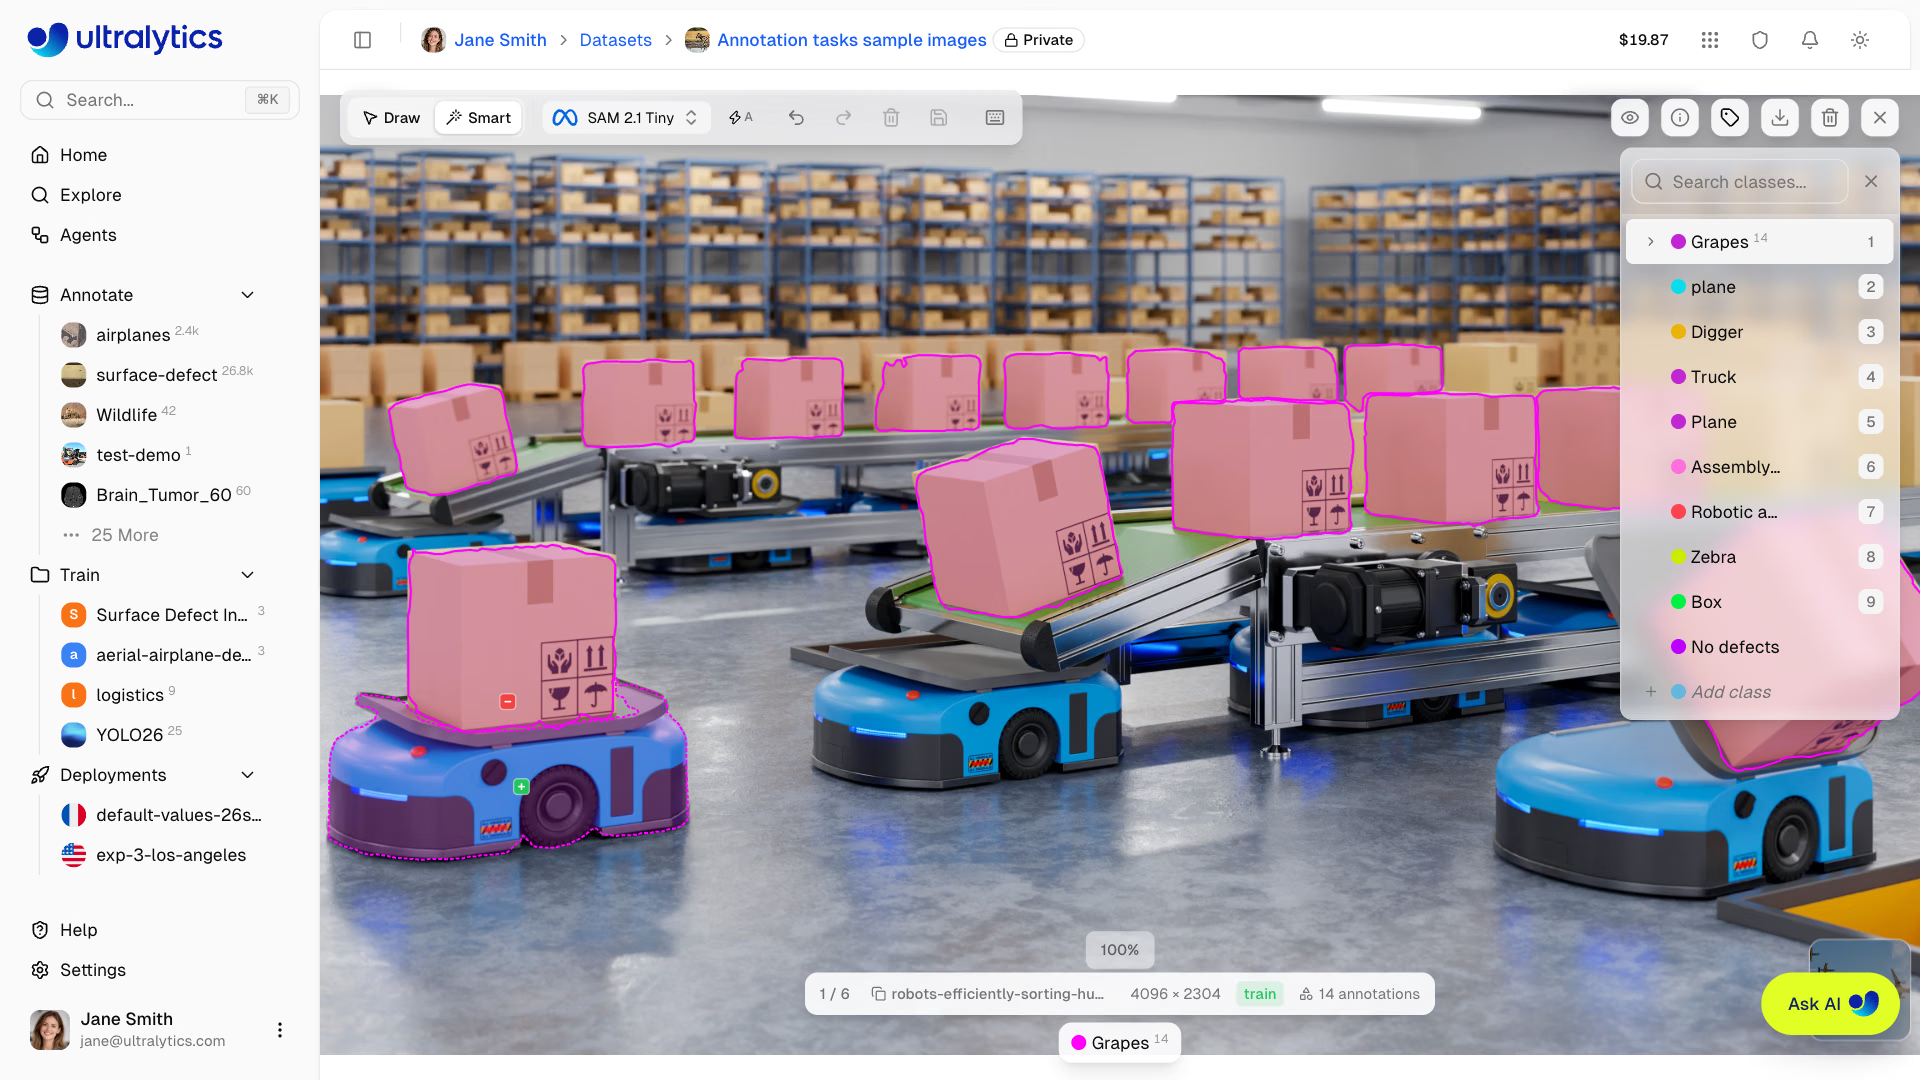
A mask that bleeds into the background trains the model to do the same. Review machine polygons against the quality bar in Boxes vs Masks, then rerun the label check above.
Train on COCO8-seg#
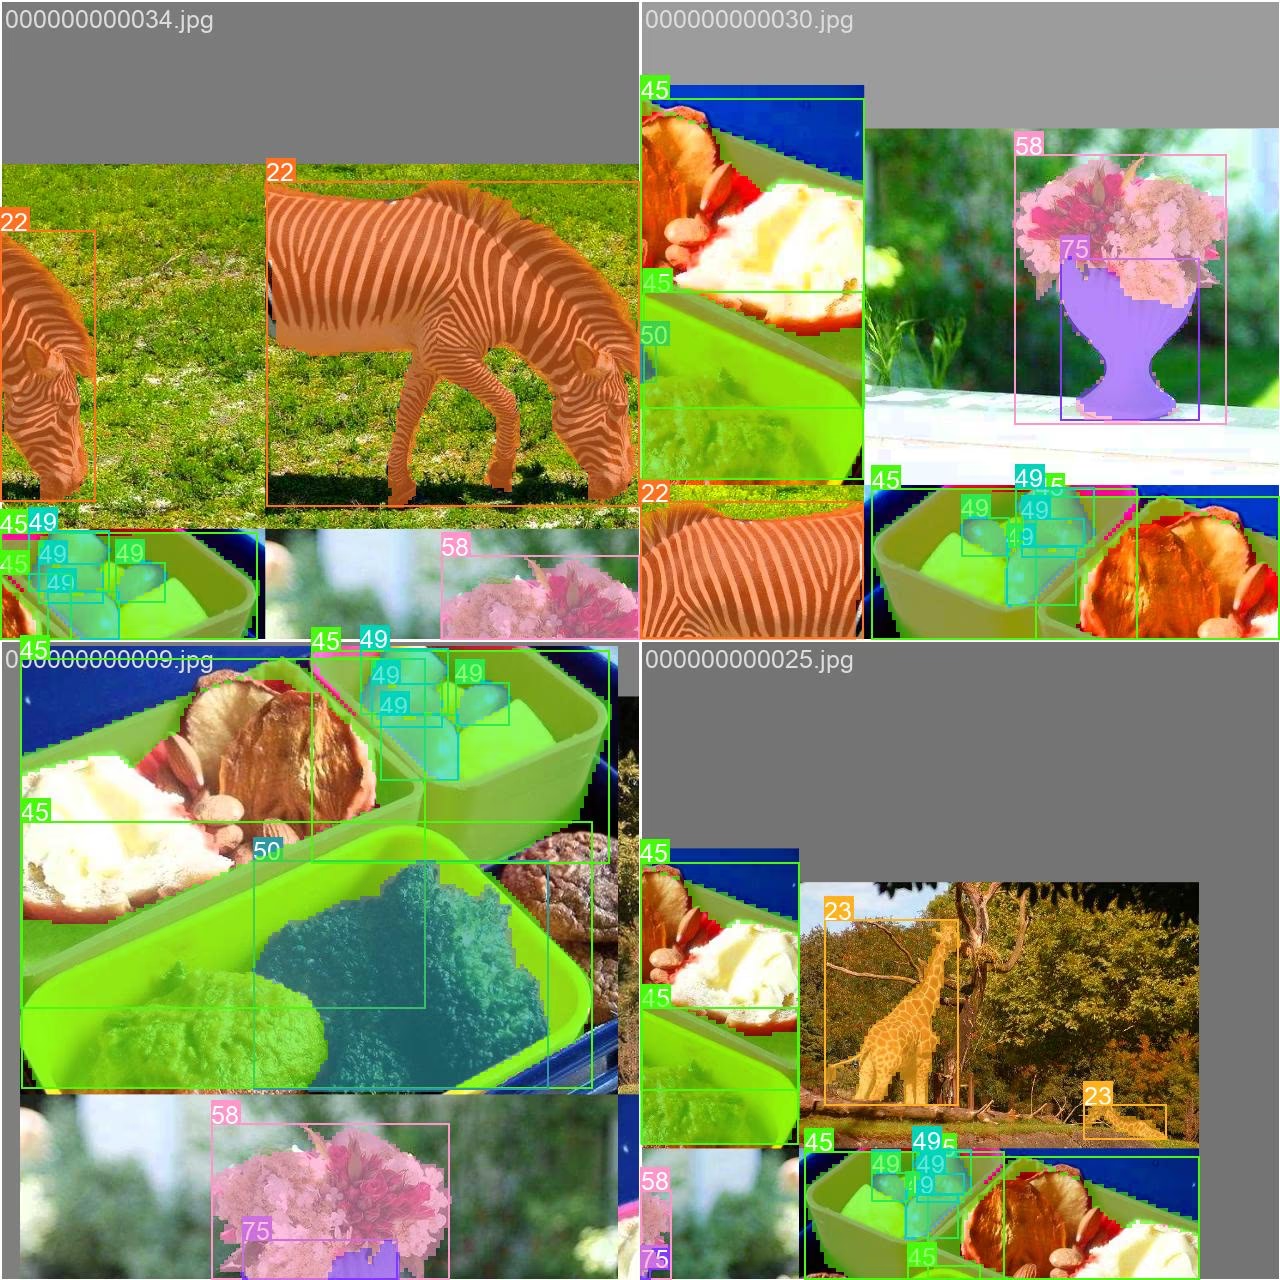
Training is the detection workflow with a -seg model and a segmentation dataset. One epoch at imgsz=320 on a laptop CPU finishes in seconds, enough to prove the pipeline end to end:
from ultralytics import YOLO

model = YOLO("yolo26n-seg.pt")
model.train(data="coco8-seg.yaml", epochs=1, imgsz=320, device="cpu")
metrics = model.val()
print(f"box  mAP50-95: {metrics.box.map:.3f}")
print(f"mask mAP50-95: {metrics.seg.map:.3f}")
Class Images Instances Box(P R mAP50 mAP50-95) Mask(P R mAP50 mAP50-95)
all 4 17 0.909 0.449 0.661 0.482 0.685 0.409 0.557 0.377
horse 1 2 1 0.993 0.995 0.564 0.619 0.857 0.663 0.199
box mAP50-95: 0.482
mask mAP50-95: 0.377Four validation images make these numbers noise; what matters is that the run completes and writes weights/best.pt under runs/segment/. For real data, follow the Segment task guide and train the full schedule on a GPU.
Read box and mask metrics side by side#
The validation table has two blocks. Box scores each predicted box against the box implied by the label; Mask scores the predicted pixels against the labeled polygon. Both run the same mAP machinery; only the IoU changes.
Mask mAP50-95 is almost always the lower of the two, because pixel IoU is stricter: a box a few pixels off still overlaps well, while a mask that misses an arm or bleeds into the road loses IoU fast at the 0.75–0.95 thresholds. The horse row shows it at its most extreme — box mAP50-95 0.564, mask 0.199. The model found both horses and boxed them well; it did not outline legs and tails. Use the gap to decide what to fix:
- Both low: the problem is finding objects, not outlining them. Add data for the missed conditions first.
- Box good, mask far lower: the model finds objects but outlines them poorly. Run the label check, try a larger model, or train and validate at a higher
imgsz. - Mask improving while box stalls: fine — for a segmentation product, mask mAP50-95 is the release gate.
overlap_mask=True merges instance masks into one image during training, and mask_ratio=4 downsamples training masks. Neither changes the resolution of predicted masks — that is retina_masks, in the next lesson. Leave both at their defaults unless you have measured a reason to change them.
Show solution
To check every split, replace the folder in the loop with Path(data["path"], "labels").rglob("*.txt"). Then train:
from ultralytics import YOLO

model = YOLO("yolo26n-seg.pt")
model.train(data="coco8-seg.yaml", epochs=1, imgsz=320, device="cpu")
metrics = model.val()
print(f"box  mAP50-95: {metrics.box.map:.3f}")   # 0.482 in our run
print(f"mask mAP50-95: {metrics.seg.map:.3f}")   # 0.377 in our run
The 0.1 gap is expected: mask IoU penalizes every boundary pixel, box IoU only the four edges. In our run the largest gap is horse (box 0.564, mask 0.199). Box mAP is good and mask is far below it, so the chart points at outline quality: check those polygons first, then try a larger model or a higher imgsz.