Auto-Annotation as an Accelerator
Let Ultralytics YOLO label first, let humans review — and the rules that keep this from poisoning your dataset.
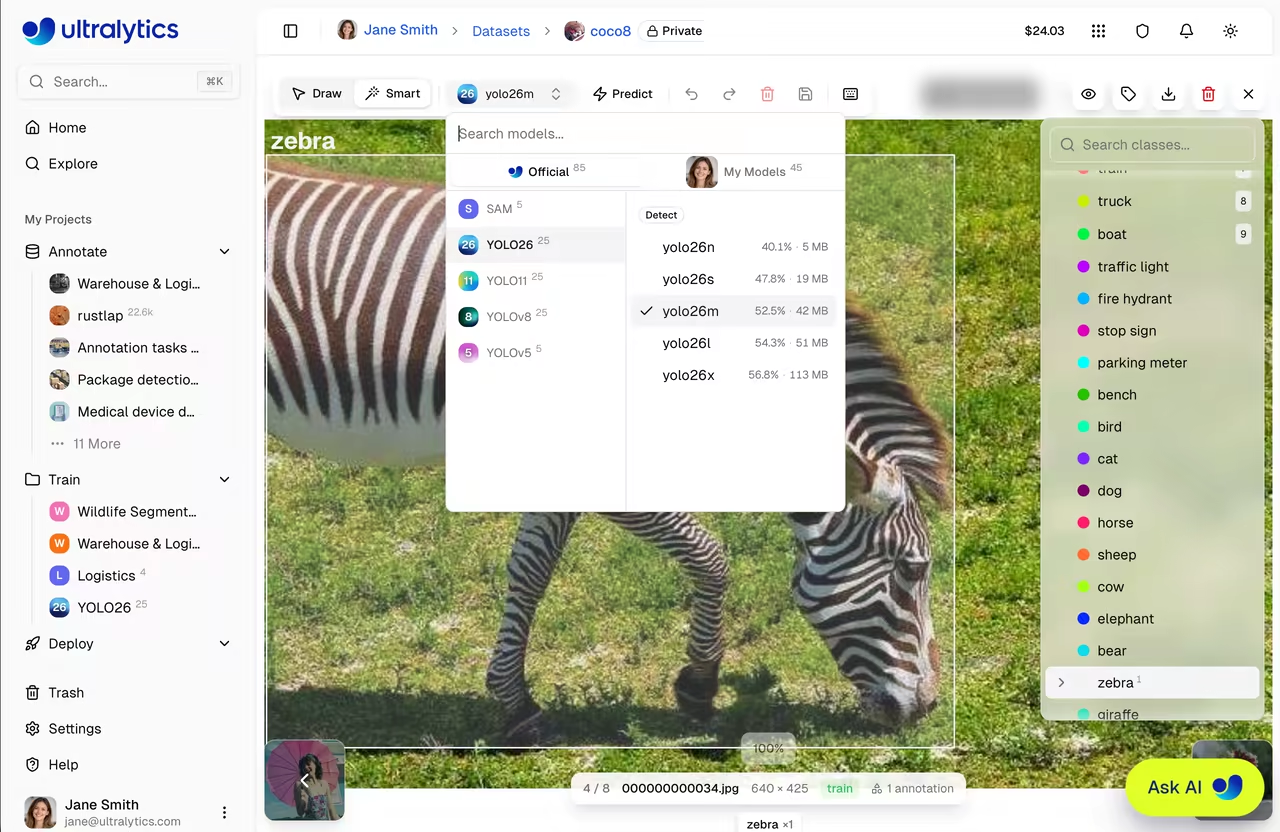
Hand-labeling is the slowest step in computer vision. Auto-annotation runs a model first and asks humans to review instead of draw — typically a YOLO detector for bounding boxes plus SAM 2 for masks. Done well, it 5–10× annotator throughput. Done badly, it teaches your model exactly what your auto-annotator already knew — and nothing more.
Run auto-annotation on a candidate set, set up the human review loop, and avoid the most common failure mode.
Run a pretrained Ultralytics YOLO model (or your latest fine-tune) on candidate frames.
Confidence threshold ≈ 0.5 — high enough to be mostly right, low enough to surface borderline cases.
Humans review and accept/edit/reject. Don't auto-accept silently.
The frames the model is least sure about are the most valuable to label.
Hands-on
How auto-annotation works
Auto-annotation is two passes:
- Inference pass — run a model over every candidate frame; produce candidate boxes/masks/keypoints.
- Human review pass — annotators see the predictions overlaid on each image and accept, edit, or reject them.
graph LR
    A[candidate frames] --> B[YOLO predict]
    B --> C[boxes overlay]
    C --> D{human review}
    D -- accept --> E[labeled dataset]
    D -- edit --> E
    D -- reject --> F[hand-label]
    F --> E
If the inference model is decent, the human is mostly clicking "accept" — which is 5–10× faster than drawing.
Pick the right inference model
Use the best model you have access to for your task. In order of preference:
- Your latest fine-tune. If you already have a v1 model on similar data, this is the best auto-annotator for v2.
- A YOLO trained on a similar dataset. Pose datasets, agricultural datasets, security datasets — pick one with overlapping classes. Open-vocabulary detectors like YOLO World can also bootstrap brand-new classes from text prompts.
- A pretrained Ultralytics YOLO model on COCO/etc. Fine if your classes overlap with the 80 COCO classes. Useless otherwise.
The confidence threshold
Auto-annotation's confidence threshold is a tradeoff between overdraw (boxes the model wasn't sure about, that humans have to delete) and misses (real objects without a box, that humans have to draw).
| Threshold | What humans do most |
|---|---|
| 0.7+ | Draw missing boxes |
| 0.5 | Mostly accept; some edits |
| 0.3 | Delete extra boxes; accept some |
| 0.1 | Spend most time deleting |
0.5 is usually the sweet spot. You can tune it for your model and dataset by sampling 20 frames and counting average click cost per frame.
If you skip human review on high-confidence detections, you'll bake in every systematic error your auto-annotator has — biased classes, wrong rules at edges, spurious detections of look-alikes. The dataset becomes a fixed point of the auto-annotator's mistakes. Always review.
Active learning: route the right frames to humans
Once you have an auto-annotator and reviewers, the next optimization: route the uncertain frames to humans first. The model is most likely to be wrong where it's least confident.
A useful sampling order for review:
- Frames where the model has detections at confidence 0.4–0.6 (borderline).
- Frames with very high count of detections (likely to have NMS edge cases).
- Frames where two classes had similar confidence on the same object.
- Random sample of the rest, for coverage.
Platform's review queue can be sorted by these criteria.
Class-by-class fallback
Auto-annotation is great for classes the model knows. For new classes you're introducing, the model has nothing to offer:
- Bootstrap by labeling 100–200 examples by hand.
- Train a v0 model on those (it'll be bad — that's fine).
- Use v0 to auto-annotate the next batch; the bad-but-existing predictions still beat starting from scratch.
- Iterate. By v1 the auto-annotator is useful.
Reviewer metrics
Beyond throughput:
| Metric | What it tells you |
|---|---|
| Edit rate | % of auto-annotations the reviewer changed. Higher = bad auto-annotator |
| Reject rate | % of frames sent back to hand-label entirely |
| Time per frame | Throughput |
| Inter-reviewer agreement | Are reviewers converging on the same calls? |
Edit rate trending up over time is the early warning that your auto-annotator's domain has drifted. If you'd rather offload the labeling UI entirely, the Roboflow integration and other tools listed in the integrations index plug straight back into Platform datasets, while the broader data collection and annotation guide covers the underlying class-imbalance tradeoffs.
Run auto-annotation on 100 frames with a pretrained Ultralytics YOLO model. Review them. Time how long the review takes. Compare to your estimate for hand-labeling those same frames. The ratio is your auto-annotation ROI.
You've run auto-annotation on a candidate set.
You've reviewed every frame — accepting, editing, or rejecting.
You can name your edit rate, and have a hypothesis for why it's high or low.
Labels in hand. Next: curating, deduplicating, and splitting before training.