First Fine-Tune and the Iteration Loop
Fine-tune pretrained YOLO26 weights with defaults, rank classes by AP with miss and confusion counts, and turn the weakest class into the next dataset fix.
The practice run in this lesson scores 0.66 mAP50, which sounds like a learning-rate problem. One per-class table says otherwise: cup has 14 labeled objects in val and the model finds none of them. That's a data problem, and no hyperparameter would have fixed it. Treat the first run as a diagnostic that tells you which class to fix next.
Hands-on
Start from pretrained weights#
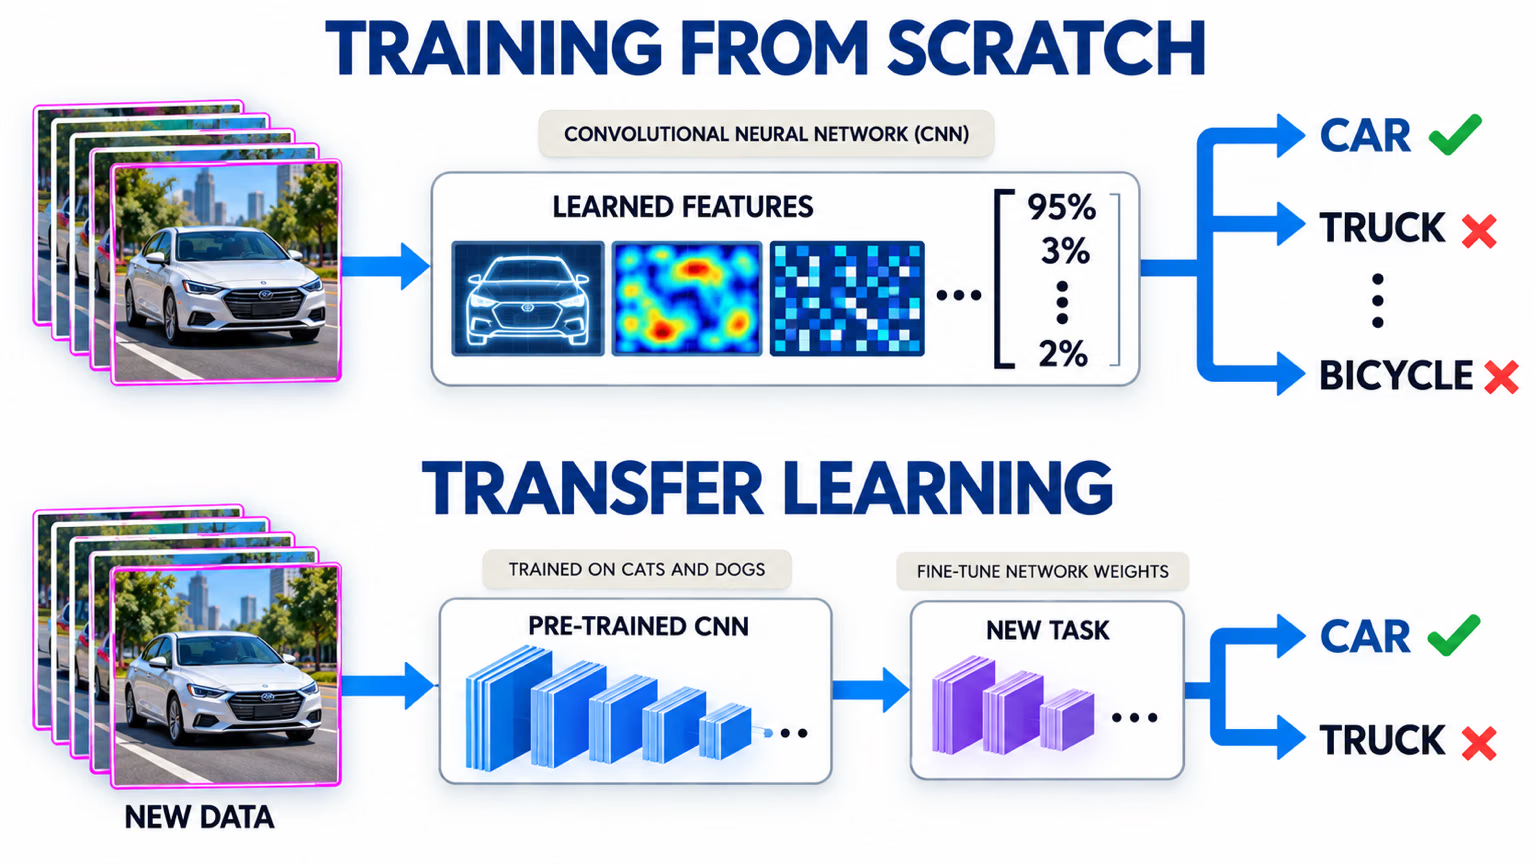
Fine-tuning starts from weights that already recognize edges, textures, and shapes, so it converges faster and needs far less data than training from random weights. Pick the YOLO26 checkpoint that matches your task:
| Task | Pretrained checkpoint | Pretrained on |
|---|---|---|
| Detect | yolo26n.pt | COCO |
| Segment | yolo26n-seg.pt | COCO |
| Semantic | yolo26n-sem.pt | Cityscapes |
| Pose | yolo26n-pose.pt | COCO keypoints |
| OBB | yolo26n-obb.pt | DOTAv1 |
| Classify | yolo26n-cls.pt | ImageNet |
| Depth | yolo26n-depth.pt | A large indoor and outdoor depth mix |
The backbone and neck transfer as they are; the task head is partly reinitialized to match your class count. Training from scratch only pays off with very large datasets in very unusual domains. Start with the nano (n) model to get a baseline quickly, and scale to larger sizes only after the data loop stops paying off. The fine-tuning guide covers what happens inside.
Run the baseline#
Train with defaults; the point of the first run is a baseline, not a record. This trains on the practice set split in Split the Dataset Correctly, first writing its data YAML:
from ultralytics import YOLO
from ultralytics.data.utils import check_det_dataset
from ultralytics.utils import YAML

names = check_det_dataset("coco128.yaml")["names"]  # the practice set keeps COCO's class names
YAML.save("practice.yaml", {"path": "datasets/practice", "train": "train.txt", "val": "val.txt", "test": "test.txt", "names": names})

model = YOLO("yolo26n.pt")  # pretrained on COCO; use the checkpoint for your task
model.train(data="practice.yaml", epochs=3, imgsz=320)  # a real run: epochs=100, imgsz=640
Class Images Instances Box(P R mAP50 mAP50-95)
all 20 143 0.614 0.6 0.664 0.486The run folder (runs/detect/train/) now holds weights/best.pt. Only three arguments are worth considering on the first run:
| Argument | Default | When to change |
|---|---|---|
epochs | 100 | Fewer for tiny datasets; 200–300 for very large ones |
imgsz | 640 | 1024 or 1280 if many objects are small in the frame |
batch | 16 | -1 for auto-batch; lower on out-of-memory errors |
Train Your First Model covers the training call and its live log in detail.
Rank classes and read the misses#
The overall mAP hides where the problem is. Rank classes by AP50-95, and use the confusion matrix to split each class's errors into objects the model missed entirely and objects it called another class:
from ultralytics import YOLO

model = YOLO("runs/detect/train/weights/best.pt")  # your fine-tuned checkpoint
metrics = model.val(data="practice.yaml", imgsz=320, verbose=False)  # same data YAML and imgsz as training

matrix = metrics.confusion_matrix.matrix  # rows: predicted class, columns: true class; last row = background
for ap, cls in sorted(zip(metrics.box.ap, metrics.box.ap_class_index))[:5]:  # weakest five classes first
    total, missed, correct = matrix[:, cls].sum(), matrix[-1, cls], matrix[cls, cls]
    print(f"{model.names[cls]:>8}  AP50-95={ap:.3f}  {total:2.0f} labeled: {correct:2.0f} found, "
          f"{missed:2.0f} missed, {total - correct - missed:2.0f} called another class")
car AP50-95=0.000 4 labeled: 0 found, 4 missed, 0 called another class
fork AP50-95=0.000 1 labeled: 0 found, 0 missed, 1 called another class
handbag AP50-95=0.025 1 labeled: 1 found, 0 missed, 0 called another class
cup AP50-95=0.039 14 labeled: 0 found, 10 missed, 4 called another class
sink AP50-95=0.075 1 labeled: 1 found, 0 missed, 0 called another classEach error type points to a different dataset fix:
- Too few val instances (
fork,handbag,sink, with 1 each): the AP is noise. Don't act on a class until val holds at least a few dozen of its instances; collect more val groups first. - Missed (
car4 of 4,cup10 of 14): the model sees no object at all. Check that scenario's coverage in train and look for missing labels withsuspect_labels.py. - Called another class (
cup4 of 14): the class definitions overlap. Open those images, sharpen the definitions, and name the look-alike in the guide.
cup is the actionable finding here: 14 labeled instances, and none found.
Read the run folder as data feedback#
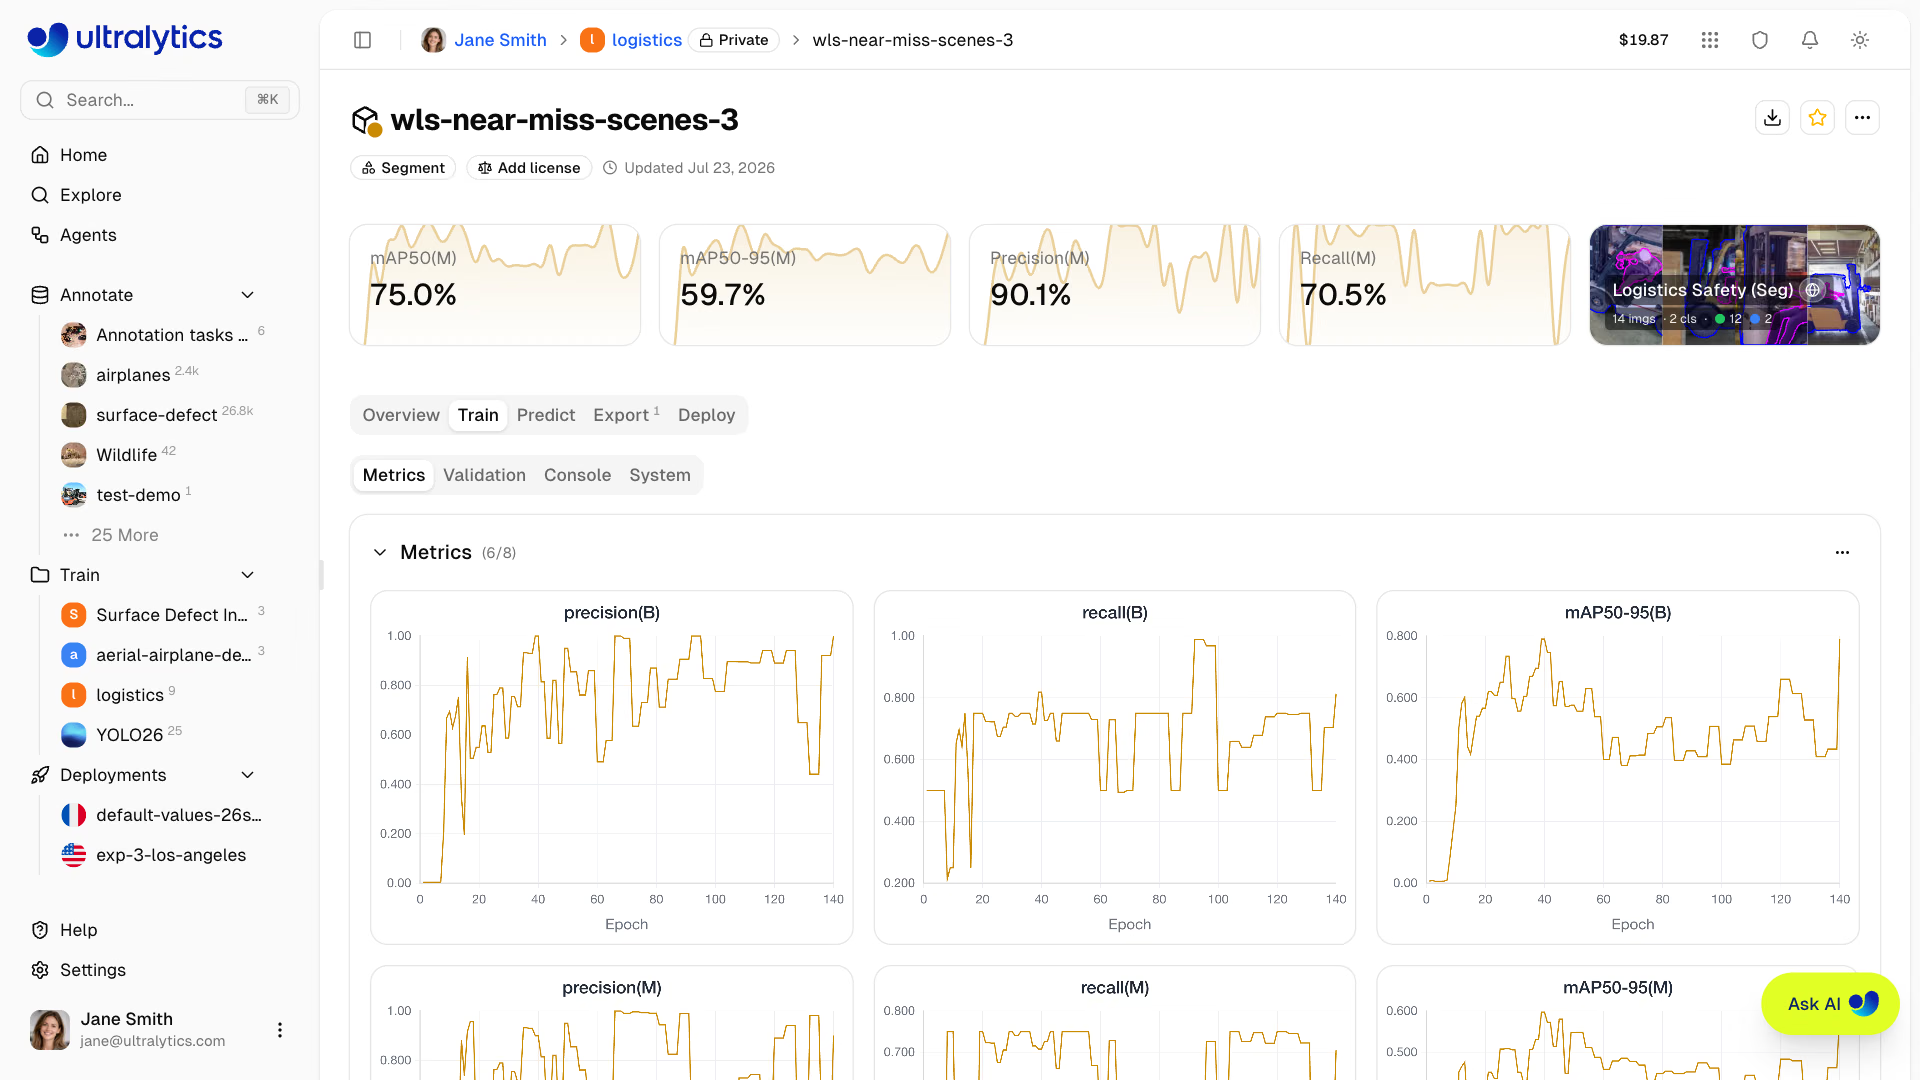
Every training run writes these files, and Ultralytics Platform plots the same curves live during cloud training:
| File | What it tells you about the data |
|---|---|
confusion_matrix_normalized.png | Which classes are confused with each other or missed as background |
BoxPR_curve.png | Per-class precision-recall; a low curve marks a weak class |
val_batch0_pred.jpg | Predictions on real val images; look for systematic misses |
labels.jpg | Class counts and box sizes the model trained on |
results.png | Loss and metric curves; val loss rising while train loss falls signals overfitting |
Validate and Diagnose explains each plot; here, the question is always what the data is missing.
The data-first loop#
A typical iteration: pick the weakest class with enough val instances, audit about 50 images that contain it, fix the data, retrain with the same settings and split, and compare per-class AP. Then move to the next weakest class.
If you add 300 images and raise imgsz in the same retrain, you can't tell which change moved the score. Keep settings and split identical while iterating on data, so every comparison isolates one data change.
When to reach for hyperparameters#
After two or three data iterations, once the remaining weak classes no longer trace back to coverage, labels, or definitions, tuning can buy the last few points. The fine-tuning guide covers layer freezing, learning rates, and optimizer choice. Tune before the data is right, though, and you spend weeks optimizing a model of the wrong dataset.
Once a model passes acceptance_test.py on the locked test set, Ultralytics YOLO in Production covers export and serving, and Monitor Health and Accuracy and Automate the Retraining Loop in Build with Ultralytics Platform cover the retraining loop.
Show solution
From the practice run, cup is the class to act on: 14 labeled in val, 0 found, 10 missed, 4 called another class. A sized plan:
| Finding | Dataset action | Size |
|---|---|---|
| 10 of 14 cups missed | Check train coverage: count train images with cups by camera-day; collect cups in the groups that have none | 40 new images with cups, across 4 camera-days |
| 4 of 14 called another class | Open them in val_batch0_pred.jpg and the confusion matrix; if they're called wine glass or bowl, add both look-alikes to the cup definition | Relabel about 30 train images against the new rule |
| 1-instance classes | Don't act yet; add val groups that contain them | Next collection round |
Then retrain with epochs, imgsz, and the split unchanged, rerun rank_classes.py, and compare cup AP before and after. If it rises, the data was the bottleneck; if it doesn't, audit the next 50 images before touching a hyperparameter.