Add and Prepare Data
Upload data or index connected cloud storage in place, then prepare a Platform dataset.
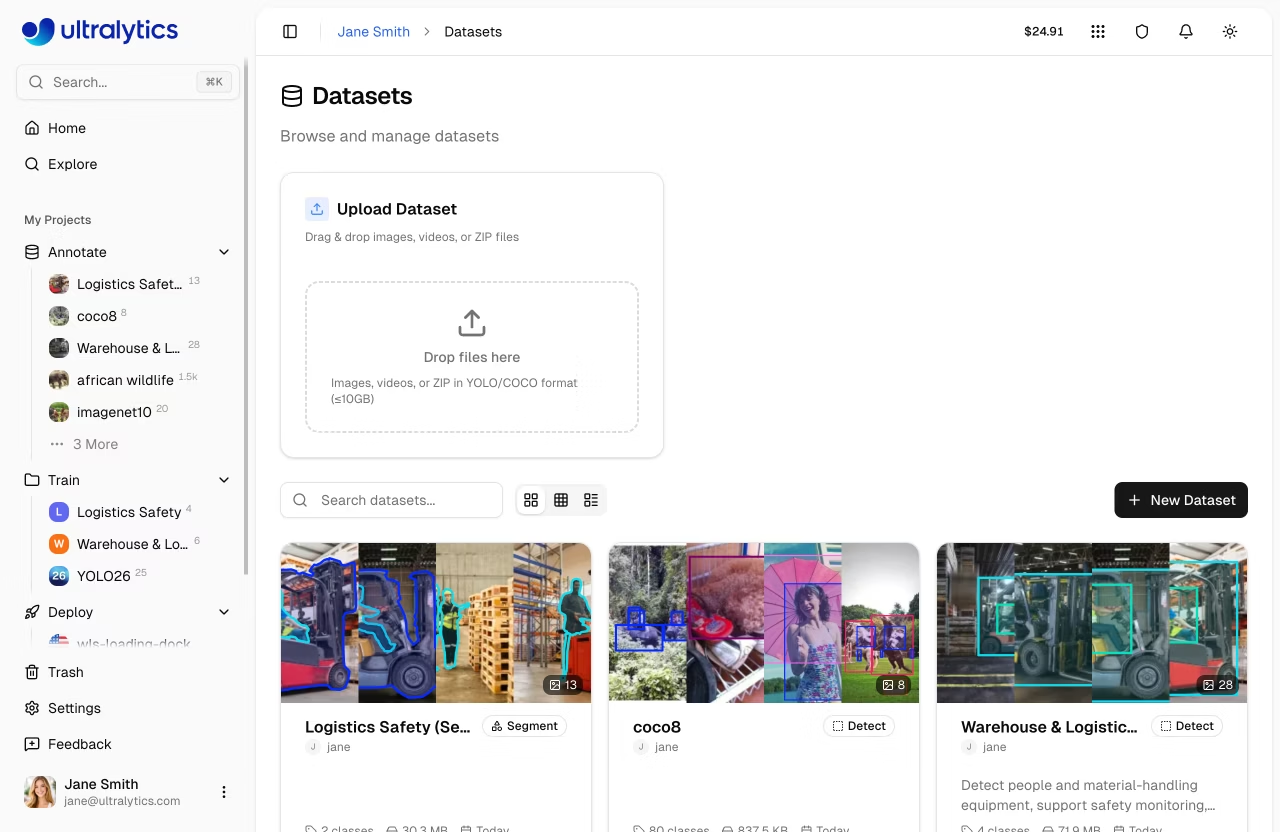
The dataset is the project — quality training data outweighs almost every modeling choice. Platform Data is where you add it: upload images, videos, or labeled archives, or index connected cloud storage in place. Platform shows either source in a gallery ready for labeling.
Create a Platform dataset, upload images or a short video, and confirm the gallery shows your data ready for annotation.
Create a dataset and pick its task type (detect / segment / semantic / pose / OBB / classify).
Upload images, videos, or a YOLO/NDJSON archive.
Pro and Enterprise workspaces can instead index Google Cloud Storage, Amazon S3, or Azure Blob Storage in place.
Videos are auto-extracted at 1 fps, up to 100 frames per video.
Open the
Chartstab to inspect the dataset before annotating.
Hands-on
Link to this sectionWhat Platform accepts#
Platform datasets accept uploads or connected cloud storage — see the data docs for the full file-format matrix, and the data collection and annotation guide plus preprocessing annotated data guide for the upstream methodology:
| Input | Notes |
|---|---|
| Images | JPEG, PNG, WebP, AVIF, HEIC, BMP, TIFF and more — max 50 MB each |
| Videos | MP4, WebM, MOV, MKV, M4V — max 1 GB; frames extracted at 1 fps, max 100 frames per video |
| Dataset archives | ZIP / TAR (incl. .tar.gz / .tgz) containing images with optional YOLO-format labels, plus NDJSON exports |
| Cloud storage | Images and YOLO metadata indexed in place from Google Cloud Storage, Amazon S3, or Azure Blob Storage; Pro or Enterprise required |
Storage is content-addressable (XXH3-128 hashing), so re-uploading the same image is free — Platform stores it once and references it everywhere.
Cloud-backed datasets keep originals in customer storage and stream pinned revisions when needed. They currently exclude auto-annotation, clustering, cloning, and immutable version snapshots; use an uploaded dataset when the course requires those features.
Link to this sectionVideo handling#
Video uploads are simple by design: Platform extracts frames at a fixed 1 fps, capping at 100 frames per video (so a 30-fps, 30-minute clip becomes the first 100 seconds — not 54 000 frames). For longer or more selective sampling, pre-sample the source yourself and upload the resulting frames.
   30-minute, 30-fps source video
   ────────────────────────────────────────────────────►  54,000 frames
   Platform extraction (1 fps, max 100):
   ▪▪▪▪▪▪▪▪▪▪▪▪▪▪▪▪▪▪▪▪▪▪▪▪▪▪▪▪▪▪▪▪▪▪▪▪▪▪▪▪▪▪▪▪▪▪▪▪▪▪▪▪▪▪▪▪▪▪▪▪▪▪▪▪▪▪▪▪▪▪▪▪▪▪▪▪▪▪▪▪▪▪▪▪▪▪▪▪▪▪▪▪▪▪▪▪▪
                                                          100 frames (first 100s)
For event-driven sampling — only keep frames where something interesting is happening — run a pretrained Ultralytics YOLO model over the source first and upload the survivors:
   plain 1 fps sampling           event-driven sampling (pre-filter with YOLO)
   ┌─────────────────────────┐    ┌─────────────────────────┐
   │ ▪▪▪▪▪▪▪▪▪▪▪▪▪▪▪▪▪▪▪▪▪▪▪ │    │ ▪      ▪▪▪▪▪      ▪▪▪▪▪ │
   │ (empty corridor)        │    │ (sparse)  ↑ (rich)      │
   │                         │    │      target visible     │
   └─────────────────────────┘    └─────────────────────────┘
   1800 frames, ~50 with target   ~400 frames, ~80 with target
ffmpeg -i source.mp4 -vf fps=1 frames/%06d.jpgThen upload the frames/ directory or zip it into a dataset archive — Platform's content-addressable storage will dedupe identical frames automatically.
Link to this sectionPicking a task type#
A dataset's task type is set on creation and decides which annotation tools appear:
| Task | Annotation tool |
|---|---|
| Detect | Rectangle |
| Segment | Polygon (manual) or SAM (smart) |
| Semantic | Dense mask |
| Pose | Keypoint with built-in or custom skeletons |
| OBB | Oriented box |
| Classify | Class selector |
You can change the task later from the dataset header, but incompatible annotations stop displaying — pick the one that matches your downstream model.
Link to this sectionInspect what you uploaded#
Once images are processed, the dataset's Charts tab shows automatic statistics:
- Train / val / test split distribution.
- Top class distribution (donut chart).
- Image width / height histograms.
- Annotation location heatmap.
- Image dimension scatter with aspect-ratio guide lines.
Skim these before you start labeling — they catch class imbalance, undersized images, and weird aspect ratios early.
Link to this sectionCloning a public dataset to start#
If you'd rather not start from scratch, the Explore page lists official Ultralytics and community datasets you can clone with one click and customize. Standard YOLO benchmarks like COCO and Open Images V7 are also drop-in options for any local training that uses the ul:// URI scheme — see the datasets catalog for the full list. The data collection and annotation guide goes deeper on filling rare-class gaps and avoiding obvious sampling pitfalls.
Create a Platform dataset for your task. Upload 10–20 images and one short video. Confirm the video produced one frame per second (up to 100) and that the Charts tab renders without errors.
You've created a Platform dataset and uploaded at least one image and one video.
Frames extracted from your video appear in the dataset gallery.
You've inspected the
Chartstab and noted any class or dimension imbalance.
We have raw frames. Next: turning them into labels at scale with smart annotation.